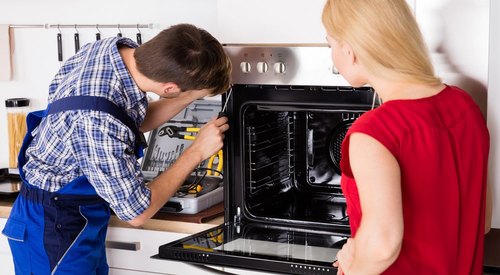
The microwave oven is the most commonly used appliance for preparing meals. It brings added convenience to your kitchen by allowing you to quickly cook pre-prepared meals or heat-cooked meals, saving a lot of your time. But if it stops working, it can really disrupt your day. A microwave oven is a simple cooking tool, but it requires maintenance and repairs.
In this article, we’ll discuss some common tips to repair your microwave oven at home.
Some Major Problems With The Microwave Oven
Unusual Noise
Different sounds other than usual give an indication of certain malfunctions in the appliance. It can be due to many things, but the real problem must be diagnosed.
Touchpad Problems
This is a common problem among customers. The touchpad is important for the operation of the heater, so you need to find out what the problem is. In this particular case, an extensive study of the diaphragm switch and control panel is required. If you cannot handle it by yourself, seek the help of a professional.
Does Not Warm
It can sometimes fail to warm the food. Use a multimeter to see the impedance of the high voltage diode, door switch, and magnetron. You may need to replace some of these parts or make a new purchase.
Food Does Not Rotate
For balanced heating, the microwave plate must rotate. If you notice that the proper rotation of the plate is not being performed, it may be due to the clutch, the driver motor, or the roller driver. Find a way to fix the problem.
Tips To Repair Your Microwave Oven
Step 1: Unplug Power
Be sure that the power cord is unplugged, and then remove the moving parts from the oven.
Step 2: Discharge The Capacitor
Before switching, make sure you remove the current in the capacitor. Because even off, it has a high content of electricity that could cause severe damage. Hence, the capacitor must be discharged before beginning any repair.
Step 3: Open the back Cover
Remove the microwave from where it is positioned to access the back of the appliance. Open the back cover by unscrewing the left and right screw. They can be removed with a screwdriver. But there are four screws in each corner which can be removed with a special ‘star screwdriver’.
Step 4: Check the Fuse
After opening the back cover, check the fuse first. You can check it with a resistor tester. If it shows the fuse resistance value is infinity, the fuse is broken. And if any value appears in the meter, the fuse is not broken. In that case, you have to find the problem in other areas.
Step 5: Inspect Door Switches
The next step is to check the door switches. There are three switches in the microwave oven (you can look at various illustrations on the internet). As soon as they are removed, it will be clear whether they are different from each other and if there’s any problem with them. To remove them, press the pin next to the switch and turn the key slightly.
Step 6: See Inside of the Switch
Look what’s happening with the switch. There may be a broken part. For example, the plastic switch is burned, it will have to be changed. Replacing it will cause the unit to be operated again.
Step 7: Not Found the Damage
In case you haven’t found any damage, you can watch detailed videos on the internet and inspect each part. If you find the damage, check whether it’s worth replacing. Sometimes it’s more cost-effective to buy a new appliance. But if you’re going to change it anyway, seek out any professional help.
Step 8: The final step is to close the lid. Tighten the screws on all sides and operate your old appliance. Enjoy cooking!
Conclusion
We hope this article solved your queries about microwave repairing. If you cannot repair it yourself, you can avail of our cooking range repair services in Pune, Hyderabad, Mumbai.

